If you’re serious about making real money from your newsletter, integrating your Beehiiv account with an ad management tool is a game-changer. It’s how you move from messy spreadsheets and manual follow-ups to a slick, automated system that handles the entire sponsorship process. This frees you up to focus on what you do best: writing great content.
This setup isn’t just a technical tweak; it’s a strategic shift that connects your direct ad sales with Beehiiv’s own powerful monetization tools, like their Ad Network and Boosts.
Why Bother Integrating Ad Management with Beehiiv?
Let’s be honest, most of us start out tracking sponsorships manually. A simple spreadsheet works fine when you have one or two advertisers. But as your newsletter grows, that spreadsheet quickly turns into a nightmare.
You risk double-booking ad slots, forgetting to chase an invoice, or losing track of creative assets. It’s a recipe for chaos. Hooking up a platform like AdSlots to your Beehiiv account is what separates a hobby from a real media business.
Finally Moving Past Manual Ad Sales
The biggest win here is automation. All the tedious, time-sucking tasks of ad operations get handled for you. For instance, a sponsor can book an available slot, upload their creative, and pay the invoice all without you lifting a finger.
This simple change completely transforms your workflow.
- Get Your Time Back: Stop playing email tag and start creating more of the content your readers love.
- Look Like a Pro: Automated scheduling, invoicing, and reporting shows sponsors you’re serious and makes them want to work with you again.
- Avoid Expensive Mistakes: The system eliminates human error, so you never have to worry about forgetting to run an ad or sending the wrong invoice.
By putting a system in place for your ad operations, you’re building the professional backbone needed to scale your sponsorships. You’re not just a creator anymore; you’re running a media company.
This automated foundation also unlocks a much smarter way to make money. You’re no longer just relying on the ads you sell yourself.
A Smarter, Hybrid Monetization Strategy
A Beehiiv ad management integration is your key to blending direct-sold sponsorships with Beehiiv’s built-in money-makers, like the Ad Network and Boosts. The Ad Network automatically fills your unsold ad inventory with relevant ads, and Boosts allows other creators to pay you for recommending their newsletters.
This hybrid approach creates a much more reliable and diversified income stream. Consider Beehiiv’s own success. By June 2024, the platform was on track to generate an impressive $20 million in annual revenue, with a significant portion driven by its Ad Network and Boosts features.
By bringing everything together, you get a single dashboard view of your newsletter’s financial health. You can see what’s working and make smarter decisions to grow your revenue. To dive deeper, check out our guide on newsletter advertising. It’s the perfect next step.
Getting Your Newsletter Ready for Ads
Before you even think about connecting AdSlots to your Beehiiv account, you need a game plan. A successful Beehiiv ad management integration isn’t about flipping a switch; it’s about building a solid foundation first. The technical stuff becomes a lot easier when you know exactly what you’re selling.
First things first, let’s talk about your Beehiiv plan. To unlock the features you’ll need for monetization, like their ad network and API access, you need to be on at least the Scale plan. The free plan is great for growth, but it won’t give you the tools for running a serious ad operation.
Defining Your Ad Inventory
Think of your newsletter as digital real estate. Your “ad inventory” is simply the collection of sponsorship spots you plan to sell. The key is figuring out where you can place an ad without ruining the reading experience.
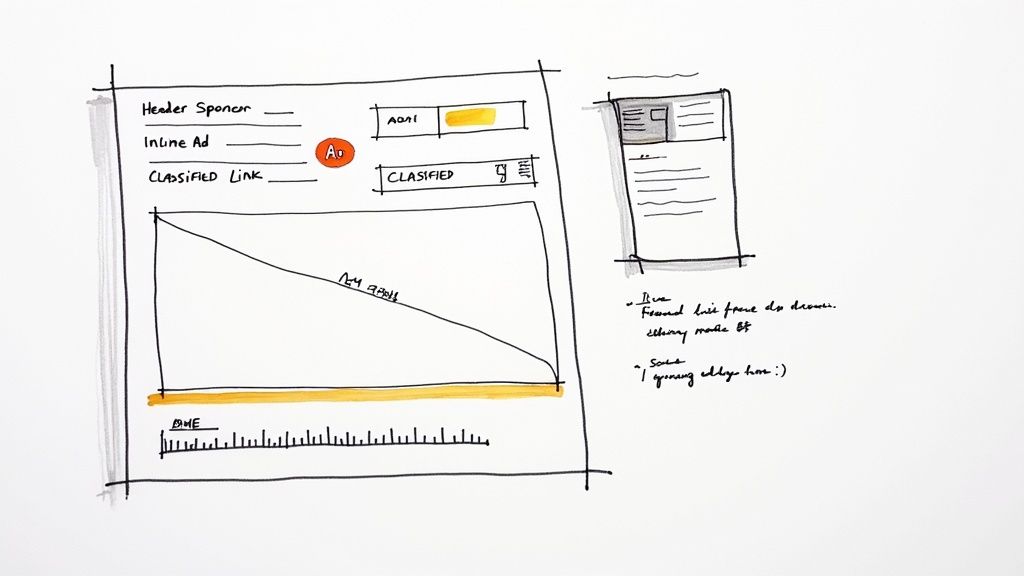
I’ve seen creators have success with a few standard placements:
- Primary Sponsor: This is your prime real estate, usually right at the top. It often includes a logo, a quick blurb, and a clear call-to-action button.
- Secondary Sponsor: A slightly smaller placement, maybe tucked in the middle of your content. Still valuable, but less “in your face.”
- Classified Link: A simple text link, often grouped with others in its own section. This is a great, affordable option for smaller advertisers.
Decide on these slots and build them directly into your Beehiiv template. Consistency here is a game-changer. Your readers will get used to them, and your sponsors will know exactly what they’re buying every time.
Setting Your Initial Ad Rates
Pricing your ads can feel like guesswork, but there’s a simple industry formula to get you started. It’s all based on CPM, which stands for “cost per mille” or cost per 1,000 subscribers.
For most niche newsletters, a CPM between $25 and $100 is a realistic starting point. For example, the popular finance newsletter Stacked Marketer charges a CPM of around $50 for its main ad slot. Let’s say you have 5,000 subscribers and a healthy open rate. You could confidently start with a $40 CPM.
Here’s how the math works:
(5,000 subscribers / 1,000) * $40 CPM = $200 for a primary sponsorship slot.
This simple calculation gives you a solid, data-driven price. Don’t be afraid to adjust it later as your audience grows and you can show sponsors real performance data.
Creating Your Media Kit
Your media kit is your sales pitch. It’s the one-pager you send to potential sponsors to show them why they should work with you. Keep it clean, professional, and full of the information they care about.
Here’s what every good media kit should include:
- Audience Demographics: Who are your readers? Think job titles, industries, and interests.
- Key Metrics: Show off your numbers. Include your total subscribers, average open rate, and average click-through rate.
- Ad Offerings: Clearly lay out each ad slot you offer, along with its price.
- Contact Information: Make it easy for them to reach out and book a spot.
Having a polished media kit signals to advertisers that you’re a professional. If you don’t want to design one from scratch, AdSlots has a free newsletter media kit generator that can get you up and running in minutes. Once your plan, pricing, and media kit are set, you’re ready to tackle the integration itself.
Alright, let’s get your ad management system hooked up with Beehiiv. This is where you connect your ad sales platform, like AdSlots, directly to your newsletter, creating a smooth, automated workflow. Don’t worry, this isn’t nearly as intimidating as it might sound.
The whole connection really comes down to two things: an API Key and a Webhook.
Think of the API key as a secure, secret password that lets your two favorite apps talk to each other. The webhook, on the other hand, is the messenger. It pings Beehiiv whenever something important happens on the other end, like a sponsor booking a new ad.
Finding and Using Your Beehiiv API Key
First things first, you need that secret handshake, your API Key. This is what proves to an outside tool like AdSlots that it has your permission to access your Beehiiv account. For security, Beehiiv keeps this tucked away in your account settings.
Getting to it is simple. Just head over to your Beehiiv dashboard:
- Click on Settings in the main navigation menu.
- Find your way to the Integrations section.
- Look for the API Keys option. Here, you can generate a new key just for this integration.
A quick pro tip: create a unique API key for every single tool you connect. I’ve learned this the hard way. If one integration ever goes rogue or you decide to stop using it, you can shut off its access without breaking all your other connections. It’s a simple but critical security habit.
Once you’ve generated the key, just copy and paste it into the right spot in your ad management platform. In AdSlots, for example, you’d go to their “Integrations” area and find the Beehiiv option. That one step is all it takes to authorize the connection.
Here’s a peek at what the API settings area usually looks like inside Beehiiv.
This screen is basically your command center for managing how other apps can securely interact with your newsletter.
Setting Up Webhooks for Real-Time Syncing
With the API key in place, you’ve established a secure connection. Now it’s time to set up the webhook to get them talking. If the API key was the handshake, the webhook is the ongoing conversation. This is what unlocks the real automation magic.
A webhook automatically pushes data from your ad tool to Beehiiv whenever something happens. For example, when a brand buys an ad slot, the webhook can instantly send the ad creative, copy, and tracking links straight into the correct newsletter draft. No more manual work.
The real win with a webhook is saying goodbye to manual data entry for good. You can finally stop copying and pasting ad details from a spreadsheet or email into your Beehiiv draft. It saves a ton of time and, more importantly, prevents those embarrassing copy-paste mistakes we’ve all made.
Here’s how you get it set up:
- First, copy the unique webhook URL that AdSlots (or your tool of choice) gives you.
- Head back into your Beehiiv Settings > Integrations and find the Webhooks area.
- Create a new webhook and paste in the URL you just copied.
- You’ll then choose which events should trigger the webhook, like “new ad sale” or “creative updated.”
Once you hit save, the two platforms are officially in sync. The best way to be sure everything is working is to run a quick test. Make a test purchase in your ad management tool, then check to see if it correctly created or updated a draft in your Beehiiv account.
When you see that happen, your Beehiiv ad management integration is live and ready to roll. That confirmation is the final, satisfying piece of the puzzle.
Putting Your Ad Sales and Delivery on Autopilot
Alright, you’ve handled the technical hookup. Now for the fun part: making your Beehiiv ad management integration actually do the work for you. This is where we move past the setup phase and build a system that manages the entire ad process from sale to send. This frees you from the administrative grind and avoids costly mistakes like double-booking a sponsor.
The magic happens when you connect the ad inventory you’ve defined in your newsletter to real, sellable products in your ad management tool. This turns those empty spaces in your template into tangible assets that sponsors can browse and buy directly.
This infographic gives you a bird’s-eye view of how these tools talk to each other to make the automation happen.
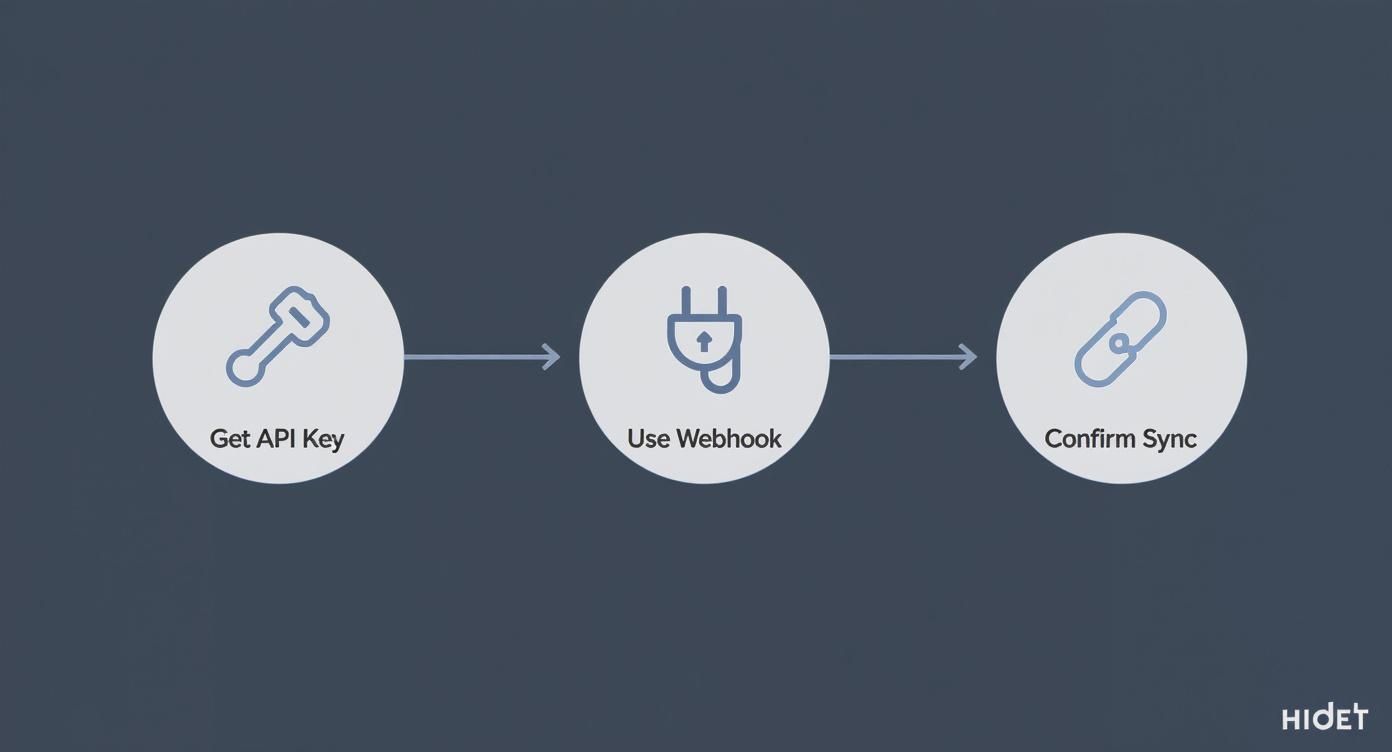
As you can see, it’s a three-phase handshake, starting with the API key authorization and ending with the systems confirming the data is synced up and ready to go.
Connecting Ad Slots to Your Sales Page
Let’s make this real. Imagine you have a “Primary Sponsor” spot right at the top of your Beehiiv template. Inside a platform like AdSlots, you’ll create a matching product, let’s call it “Primary Sponsorship.” You then link this product directly to that specific ad slot in your newsletter.
You can do this for every ad unit you offer:
- The Secondary Sponsor Slot in your template gets mapped to a “Secondary Sponsorship” product.
- Your Classified Link Section can be mapped to a “Classified Ad” product, maybe with five or ten available to purchase for each send.
This one-to-one mapping is the critical step. It’s what tells the system exactly where to inject an advertiser’s creative when they buy a specific package. Once you’ve mapped your slots, you need to price them correctly. If you’re not sure where to start, using a newsletter ad pricing calculator can give you a solid, data-informed baseline.
Building a Truly Hands-Off Workflow
With your ad inventory mapped and priced, you can now build a completely automated fulfillment process. Picture this: a sponsor lands on your booking page, picks the “Primary Sponsorship” for your newsletter two weeks from Tuesday, and pays with their credit card.
Without you lifting a finger, here’s what happens in the background:
- Instant Reservation: The system immediately blocks off that ad slot on that specific date, making it impossible for anyone else to book it.
- Creative Collection: The advertiser gets an automated prompt to upload their ad copy, images, and tracking links right into the platform.
- Automatic Invoicing: A professional invoice is generated and sent to the sponsor’s inbox the moment they complete the checkout.
- Content Syncing: Once the ad creative is ready, the webhook pushes it directly into the correct spot in your upcoming Beehiiv draft. It just appears, ready for you to hit publish.
This is how you stop spending hours each week on administrative back-and-forth. You’re essentially turning a manual, error-prone chore into a reliable, self-service engine that generates revenue while you focus on writing great content.
This smooth, automated experience also signals to advertisers that you’re a professional operation, making them more likely to book with you again. The potential here is massive. Just look at Beehiiv itself. In 2023, its own Ad Network paid out over $3.7 million to creators, a testament to what a well-oiled monetization system can do.
Strategies for Scaling Your Ad Revenue
Getting your Beehiiv ad management integration up and running is a huge first step, but that’s really just laying the foundation. The real magic happens when you turn that smooth operation into a predictable, growing income stream. It’s about shifting your mindset from selling one-off ads to building a real media business.
The quickest way to do that? Stop offering just a single sponsorship slot. By creating a few different ad packages, you give sponsors multiple ways to work with you at various price points. This is key to getting the most revenue out of every single newsletter you send.
Develop Tiered Sponsorship Packages
Don’t box yourself into a single, “take it or leave it” ad placement. The most successful newsletters I’ve seen offer a menu of options that appeal to different budgets and campaign goals. This simple change makes your ad inventory far more attractive to a much wider pool of potential sponsors.
Think about creating a few distinct packages, something like this:
- Headline Sponsor: This is your prime real estate. The top slot, the main event. It usually gets a logo, dedicated copy, and a big, bold call to action. Naturally, this one commands the highest price.
- Secondary Placement: A great mid-tier option. This is a smaller, more integrated spot that feels like a natural part of your content. It’s perfect for brands that want to get in front of your audience without paying for the top billing.
- Classified Link: A simple, text-only link, maybe in a dedicated “sponsored links” section. This is your low-friction, entry-level offer that’s an easy “yes” for smaller advertisers or those just wanting to test the waters.
A tiered structure like this lets you sell multiple ads in each issue without making your newsletter feel like a giant billboard. You’re effectively multiplying your revenue potential for every send.
Use Data to Increase Your Rates
As your newsletter grows, your ad slots become more valuable. It’s that simple. And your ad management tool gives you the exact data you need to confidently justify rate increases. Don’t just fall back on subscriber count, that’s old-school.
When you’re ready to bump up your prices, go to your sponsors armed with hard performance metrics from their past campaigns.
Show them the numbers. Don’t just say, “My list is bigger now.” Instead, you can say, “Your last ad with us saw a 42% open rate and a 5.7% click-through rate, which drove over 600 clicks to your landing page.” This data-first approach takes all the guesswork out of it and shows them the clear ROI.
That level of professional reporting, powered by your integration, changes the conversation. A price negotiation becomes a straightforward business decision for the advertiser, building trust and paving the way for long-term partnerships. For more ideas on how to frame your value, check out our complete guide on newsletter advertising best practices.
Finally, think of your ad sales page as your digital storefront. A clean, professional page that clearly breaks down your packages, highlights your audience demographics, and features key performance stats will do a lot of the selling for you. It helps sponsors make smart decisions and book campaigns with confidence, letting you focus on building a truly scalable ad business.
How to Fix Common Integration Problems
Even the smoothest setups can hit a snag now and then. If your Beehiiv ad management integration starts acting up, don’t panic. Most of the time, the fix is surprisingly simple once you know where to look. Let’s walk through a few common hiccups and get you back on track.
The Dreaded API Connection Error
First up is the classic API connection error. This almost always points to a problem with the unique key that connects the two platforms. It might be incorrect, maybe it was revoked, or it just doesn’t have the right permissions to do its job.
Your first move should be to head straight into your Beehiiv settings and generate a brand-new API key. Carefully copy and paste it back into your ad management tool, making sure no extra spaces sneak in at the beginning or end. That tiny detail can trip up the whole system.
When Ad Creatives Fail to Sync
Picture this: you’ve closed a deal, the sponsor has sent over their creative, but it’s just not showing up in your Beehiiv draft. This is a tell-tale sign of a webhook issue. Think of the webhook as a digital messenger that pings Beehiiv every time a new ad is ready. If that message never gets sent, your ad creative is stuck in limbo.
To figure out what’s going on, you’ll need to check the webhook logs in your ad management platform.
- Look for a “Success” or “200 OK” status. That’s the green light confirming Beehiiv got the message.
- If you see an error like “404” or “500,” it usually means the webhook URL is wrong or maybe Beehiiv’s server had a temporary blip.
- No logs at all? This suggests the trigger event itself, like “new ad sold,” isn’t set up right in your ad tool.
Honestly, most ad-syncing problems I’ve seen come down to a simple misconfiguration. Systematically checking the webhook URL and its trigger events will solve over 90% of these headaches.
Correcting Mismatched Reporting Data
It’s frustrating when your ad tool reports 200 clicks, but Beehiiv only shows 150. What gives? This kind of discrepancy usually boils down to how each platform tracks engagement. For instance, your ad platform might count every single click, while Beehiiv might only be counting unique clicks from each subscriber.
The best way to get a clear picture is to use properly formatted UTM tracking links for every single campaign. This creates a reliable source of truth you can check in Google Analytics. If the numbers still seem off, double-check that both platforms are set to the same timezone. A simple mismatch in reporting windows can easily skew the data, and fixing it often brings everything back into alignment.
Got Questions? We’ve Got Answers
Here are some of the most common questions we get from publishers setting up their Beehiiv ad management integration.
What Beehiiv Plan Do I Actually Need?
To get the API keys and webhooks required for this kind of integration, you’ll need to be on the Beehiiv Scale plan or higher. While the free Launch plan is a great starting point for any newsletter, it doesn’t have the developer tools needed for this level of automation.
Can I Still Use the Beehiiv Ad Network?
Yes, and you absolutely should. Using a tool like AdSlots is all about managing your direct-sold sponsorships, the ones you go out and sell yourself.
This setup works beautifully alongside the Beehiiv Ad Network, which can fill any ad slots you haven’t sold directly. It’s a fantastic hybrid approach to monetization.
Think of it like this: Your direct-sold ads are your premium, top-dollar inventory. The Beehiiv Ad Network is your safety net, making sure you’re still earning on any unsold space. It’s truly the best of both worlds.
“Webhooks” Sound Complicated. Are They?
Not at all. I get it, the term sounds super technical. In reality, it’s just a fancy word for a link that lets two apps talk to each other. Your ad management platform will give you a unique URL that you simply copy and paste into your Beehiiv settings.
The process usually looks like this:
- Grab the webhook URL from your ad tool’s dashboard.
- Head over to your Beehiiv settings: Settings > Integrations > Webhooks.
- Paste the link and tell it which events to watch for, like a new sponsorship being booked.
That’s it. No coding, no headaches.
How Can I Be Sure the Integration is Working?
The best way to know for sure is to run a quick, small-scale test.
Create a test sponsorship or a 100% discount code in your ad management platform and “buy” one of your own ad slots. Then, pop over to your Beehiiv account and check your upcoming newsletter drafts. If the ad creative, copy, and tracking links show up right where they’re supposed to, you’re golden.
Ready to finally ditch the sponsorship spreadsheets and automate your ad sales? Ad Slots is built to turn chaotic ad ops into a smooth, professional system. Get started with AdSlots today and get your time back.